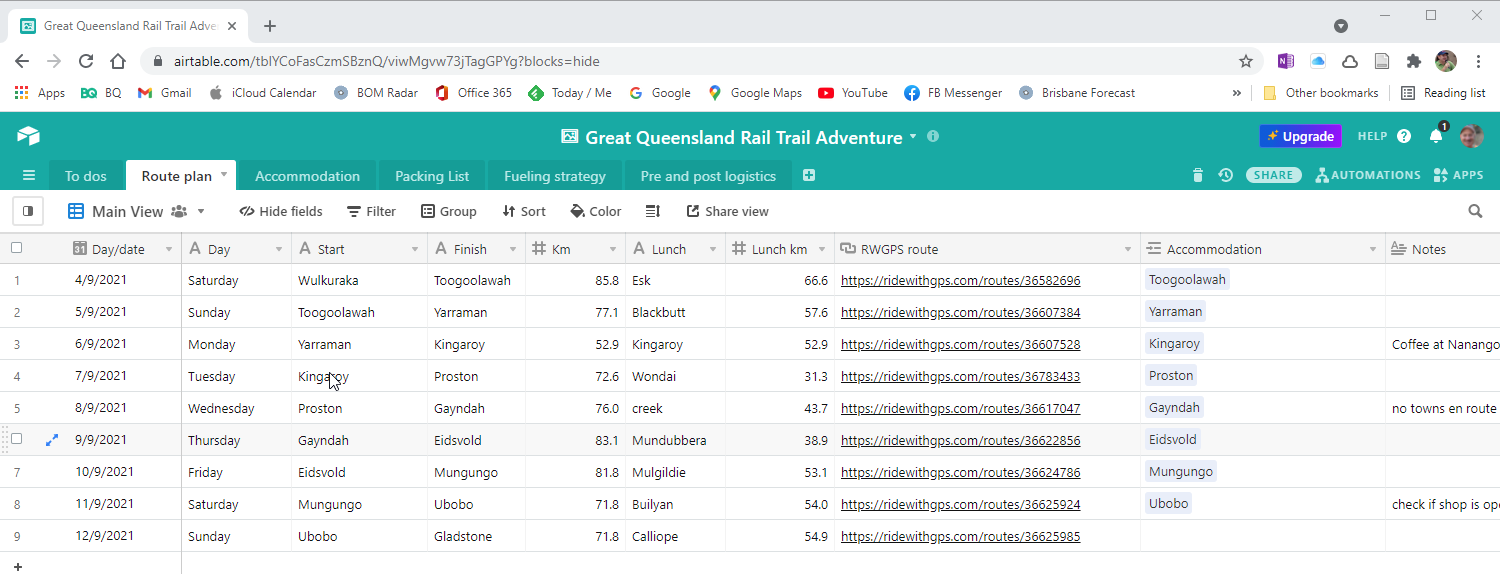
GQRTA Day 1 Wulkuraka to Toogoolawah
Part 2 of 10
Previously: Overview
Next: Day 2 Toogoolawah to Yarraman
Strava links for this post:
Distance: 86.8km.
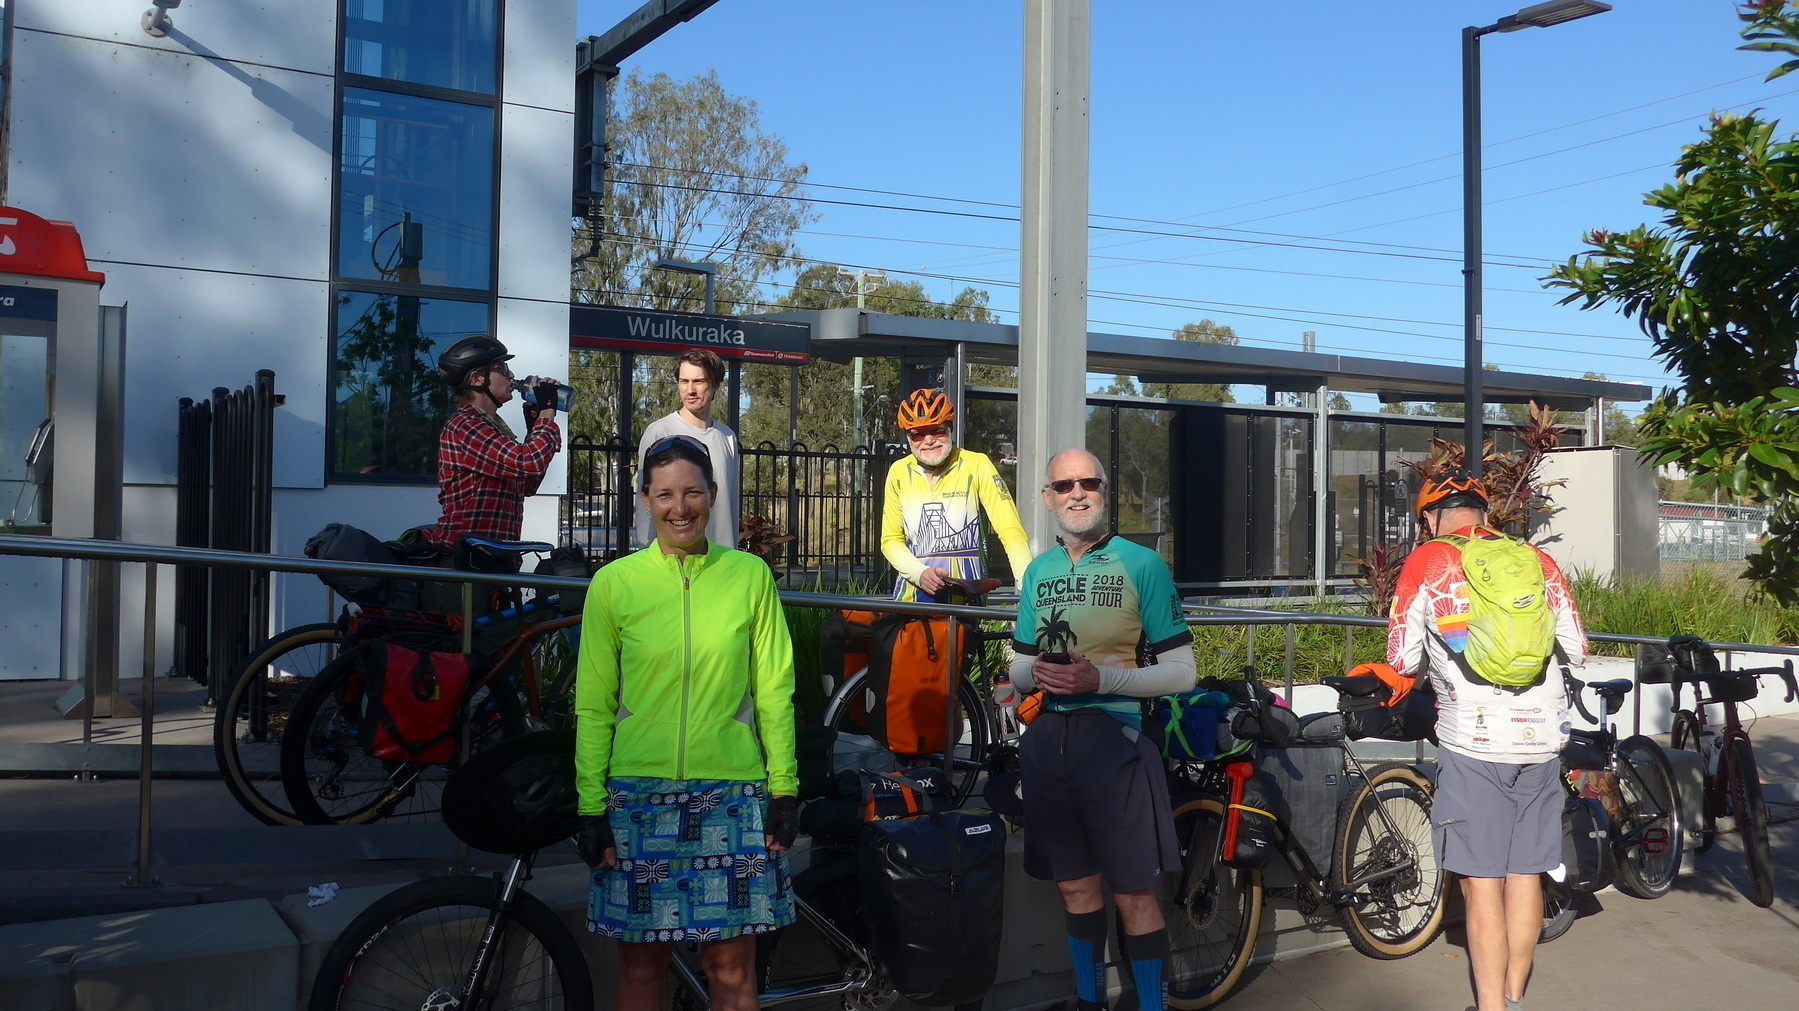
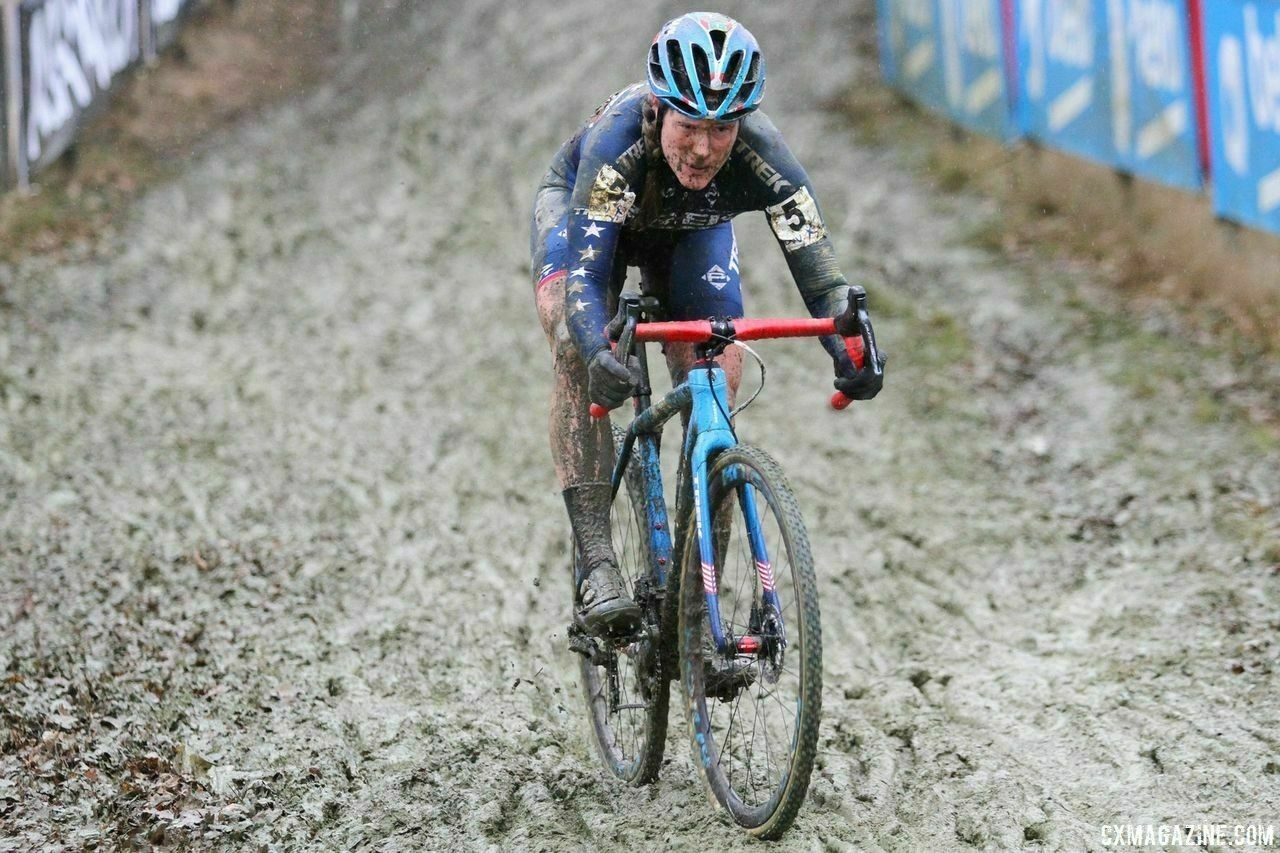
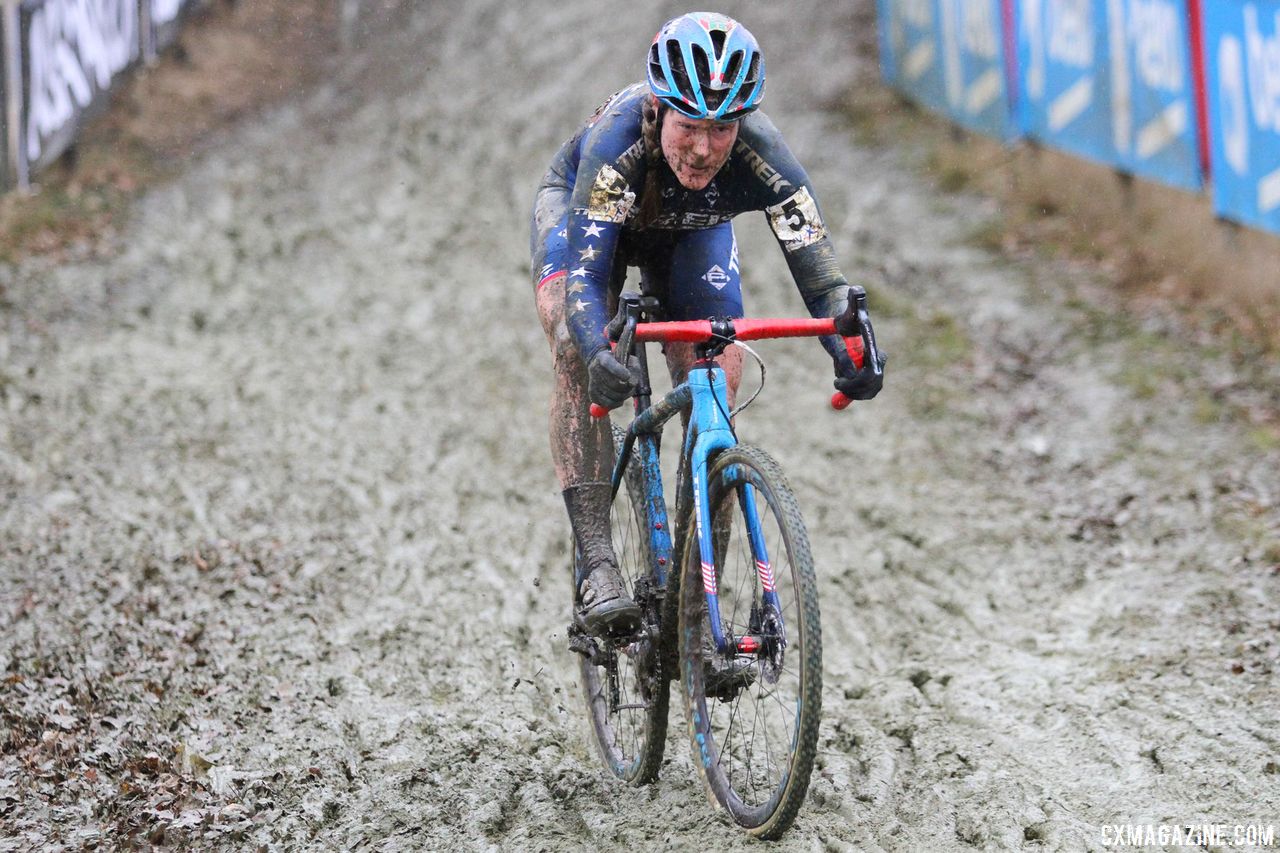
The ride starts from Wulkuraka Station, and rolls along a concrete bike path for the first 5km through suburban Ipswich. Once we pass under the Warrego Highway we get onto the dirt and start to get into the rhythms of the Brisbane Valley Rail Trail.
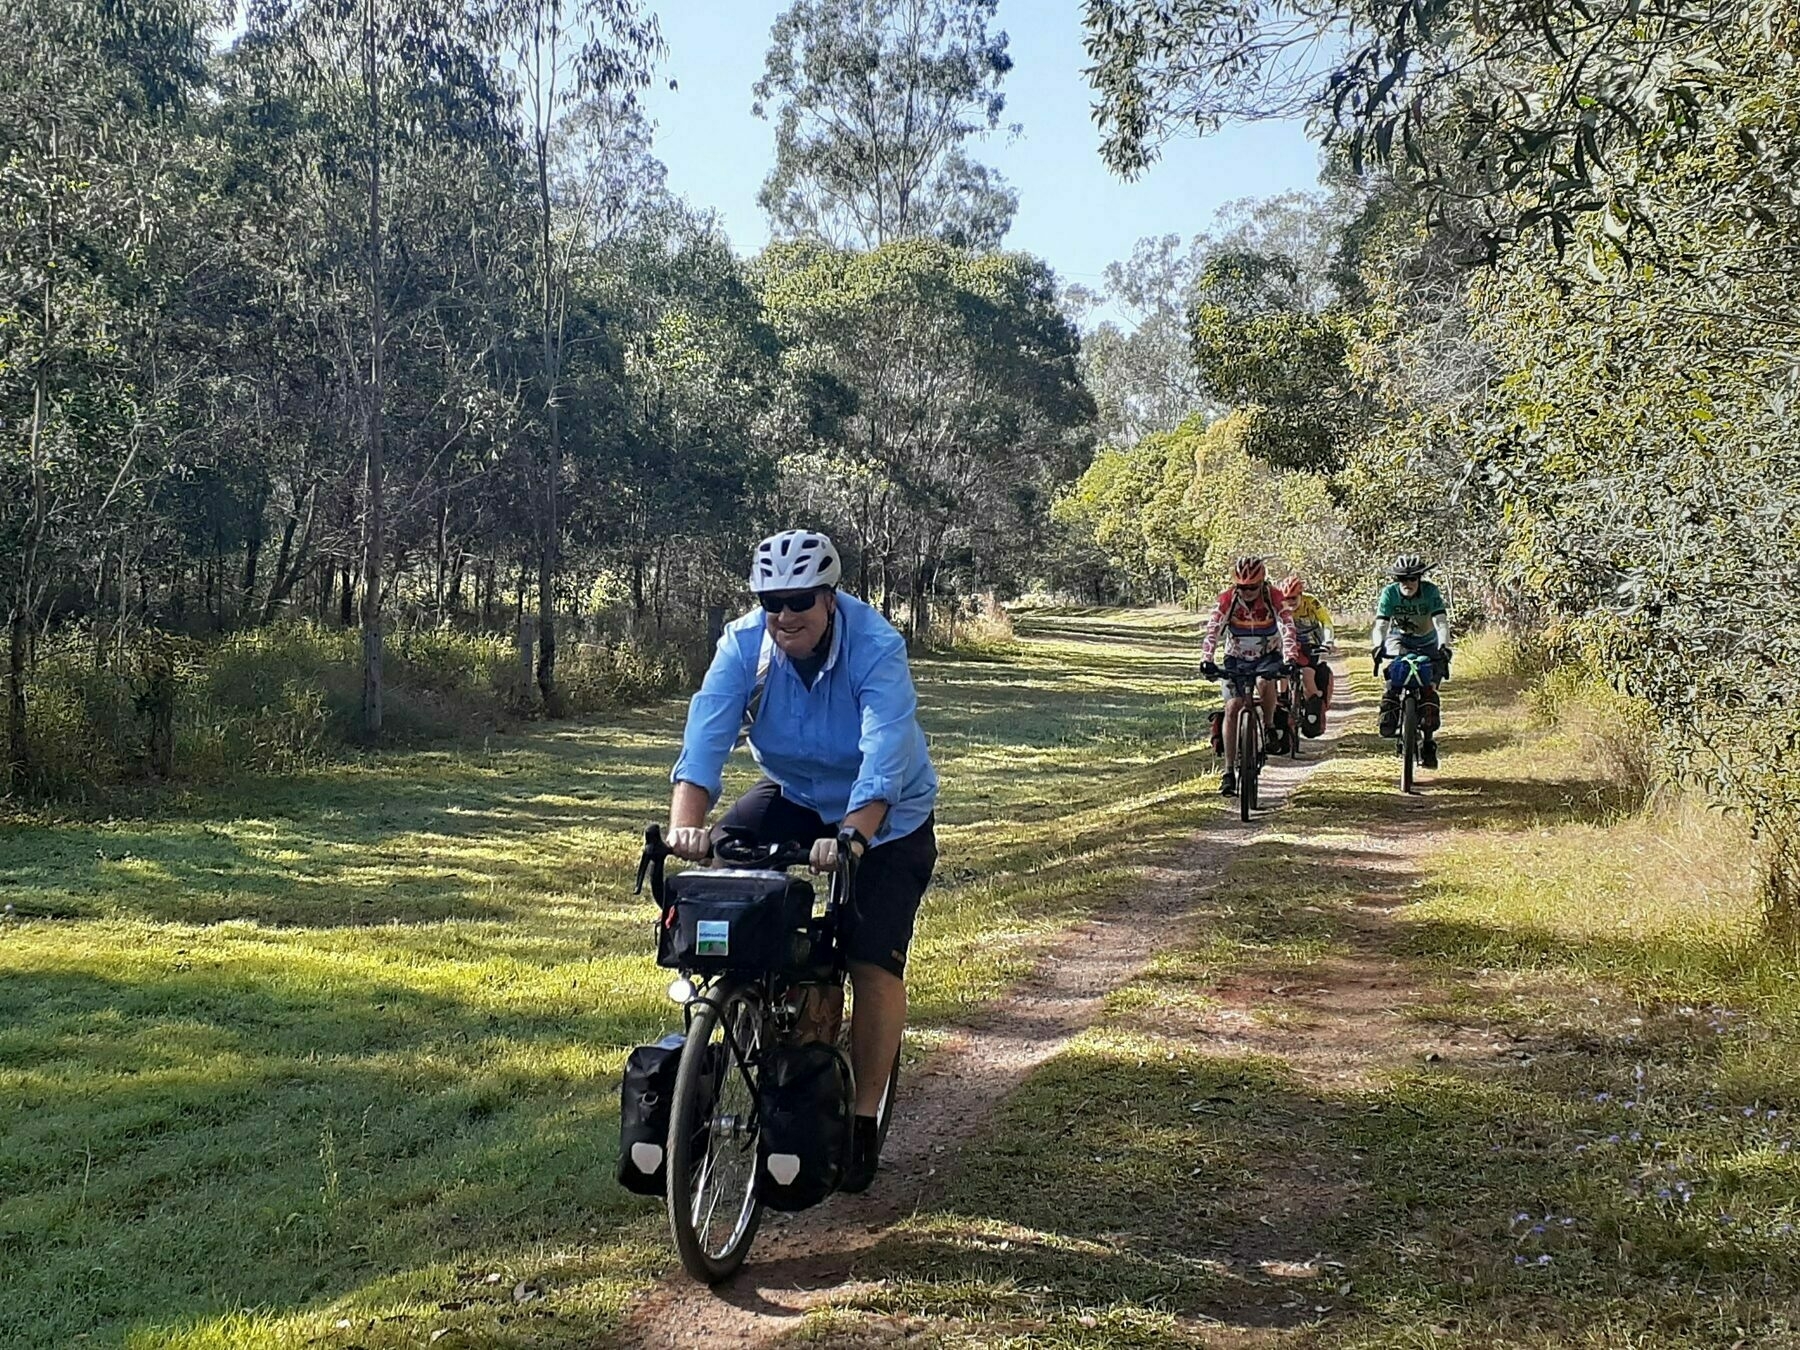
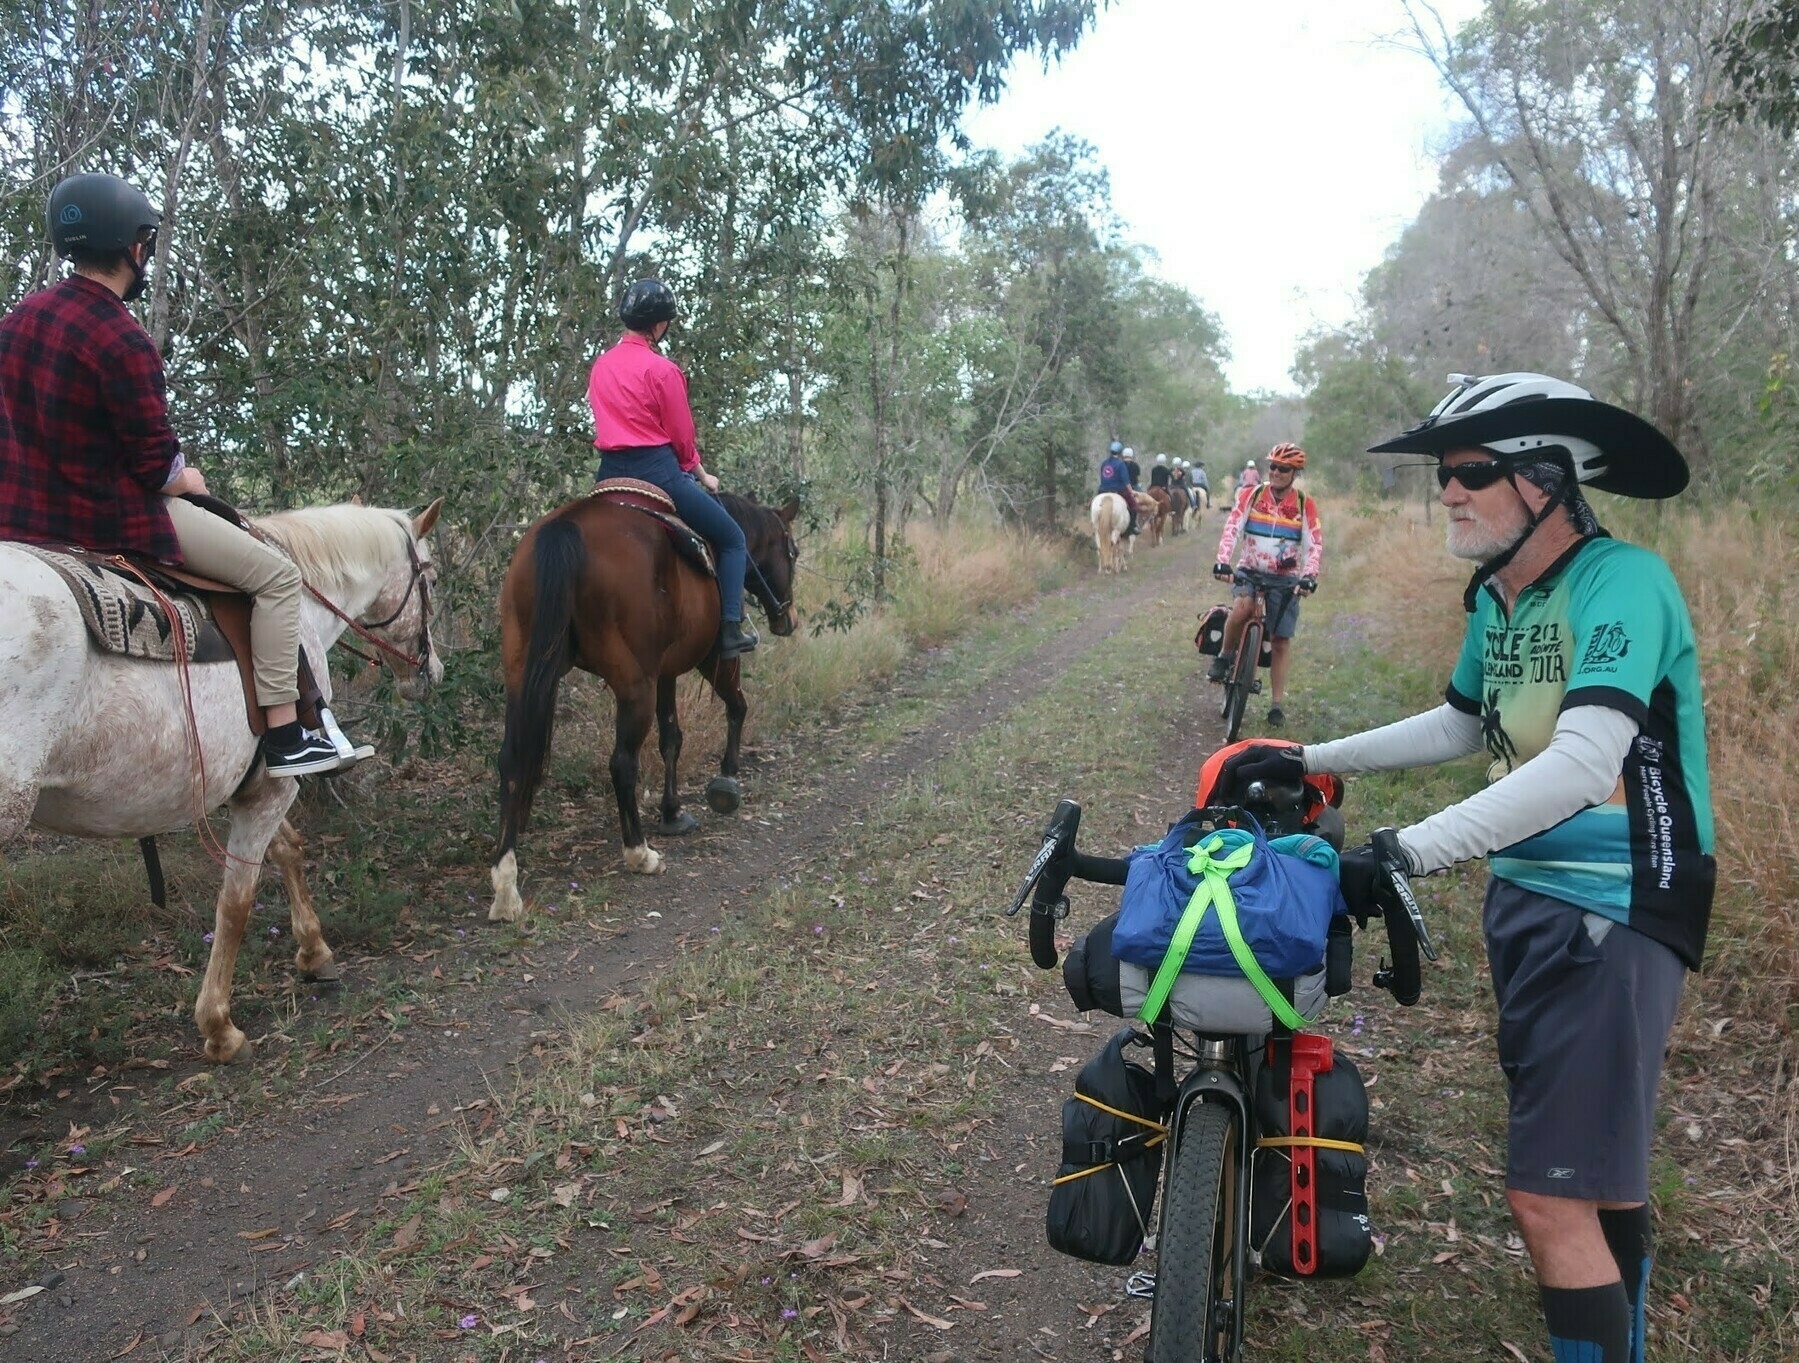
The BVRT has become much busier in the past few years, and you will certainly encounter bike riders travelling in both directions. Further along the trail you may also encounter riders on horses. Both walkers and horse riders have right of way over bike riders, so be nice and share the trail!
Fernvale is the first opportunity for a coffee or a snack, after 22km. But before you get there, take care as you cross the Brisbane Valley Highway at Lloyds Road after 14km. The crossing of Fairney Brook on a concrete causeway is a little treat about 4km later.
No shortage of food and drink outlets in bustling Fernvale. Once again, be careful crossing the Brisbane Valley Highway … even in town the cars, trucks and motorcycles roar past with great enthusiasm.
I like and recommend the Tree Change Cafe (corner of Banks Creek Rd and the highway).
Back on the trail for one of the original sections of the BVRT, Fernvale to Lowood, which undulates gently alongside Forest Hill Fernvale Rd for most of its 9km. Lowood also has cafes multiple and bakery singular, and quite a lovely garden beside the trail as you head off past the golf course.
Cross Clarendon Rd and marvel/wince at the “bicycle fence”.
Lockyer Creek bridge is another chance for a photo, this time for a beautifully restored rail bridge. More like this please!
The run into Coominya from here is straight and imperceptibly uphill. Good thing there’s a shop and a pub at Coominya if you need them.
The next 15km up to Mount Hallen are mostly uphill, on that steady railway 2% gradient.
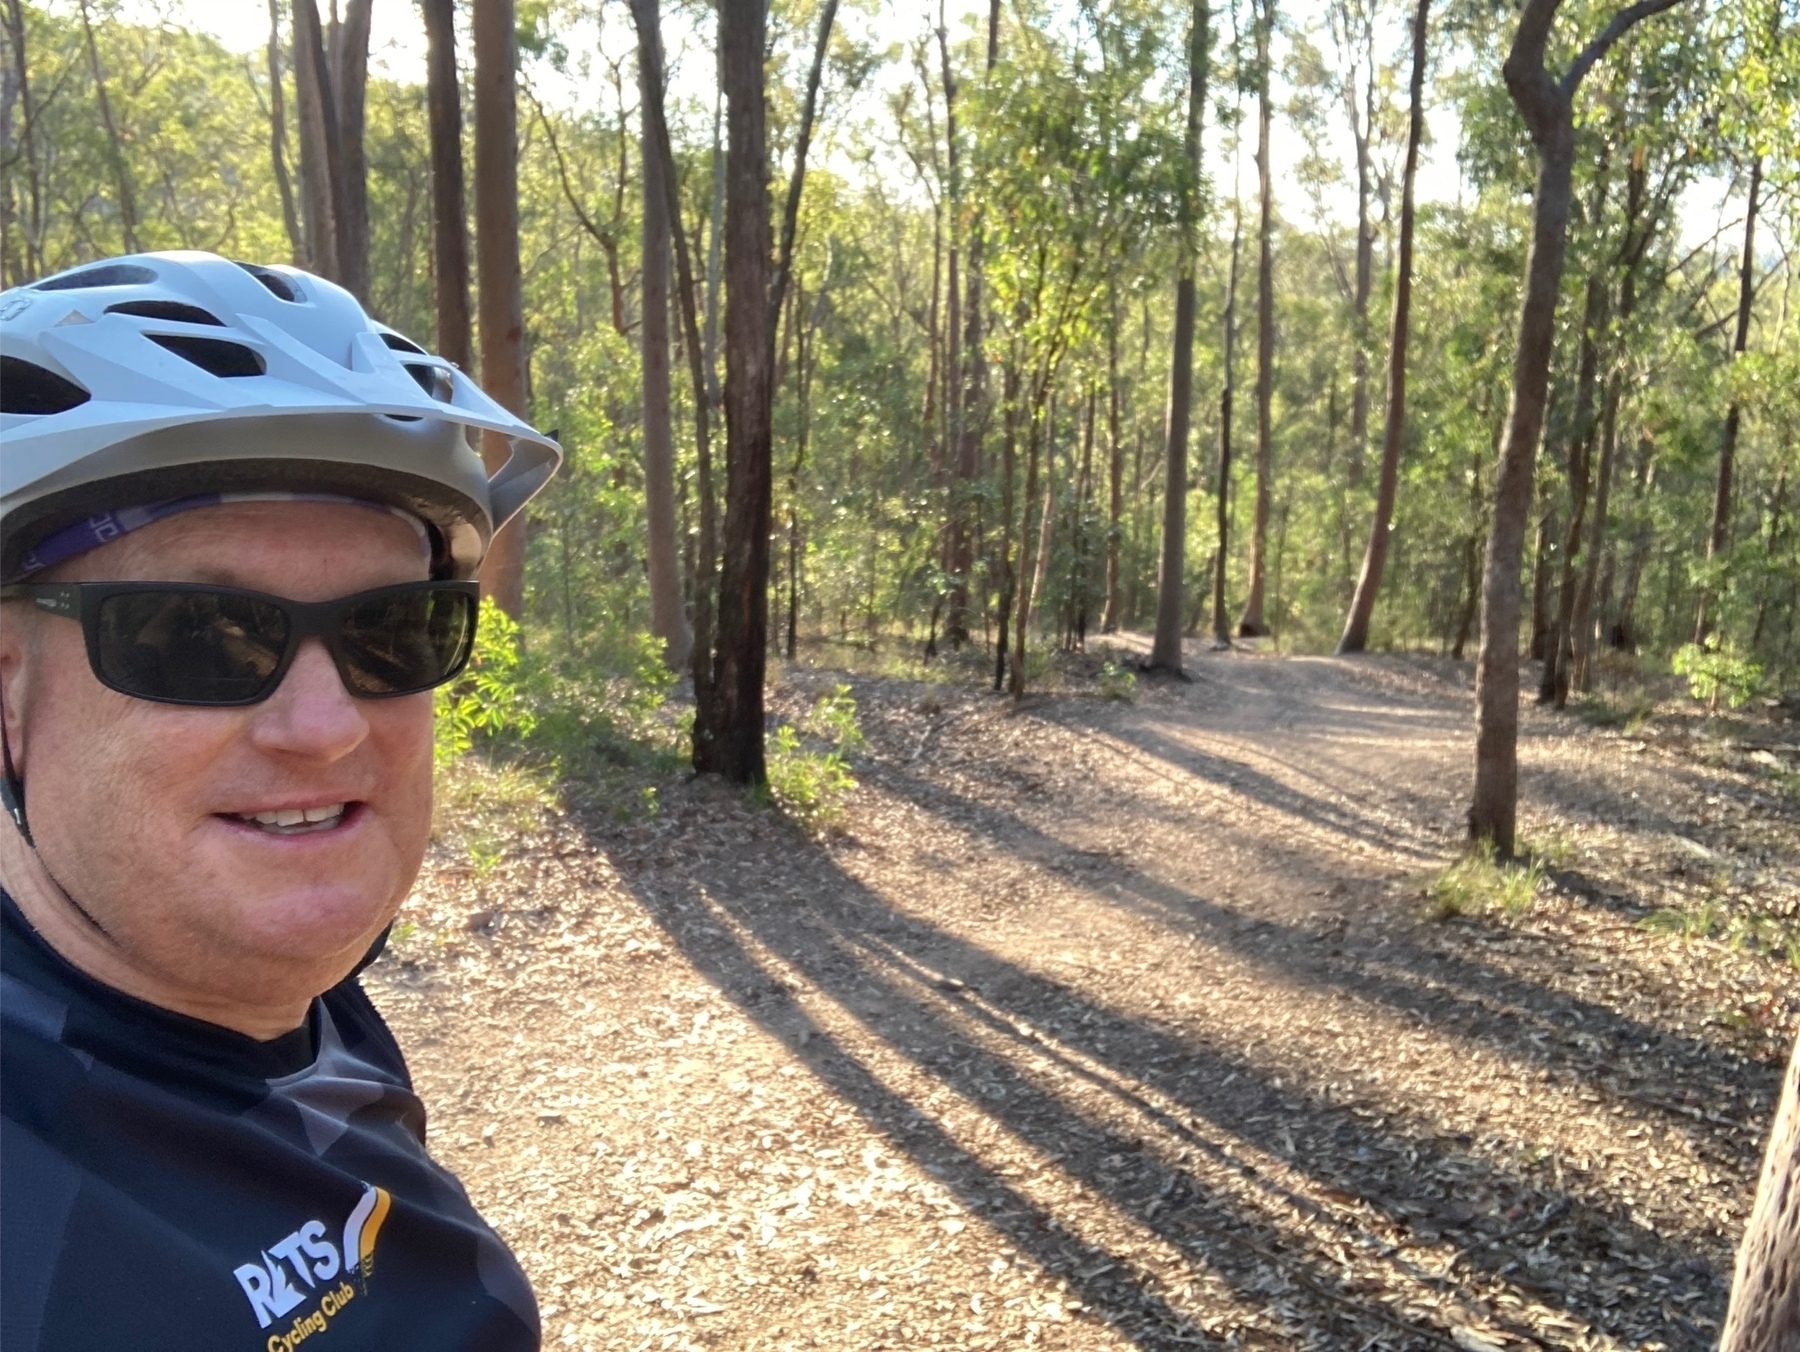
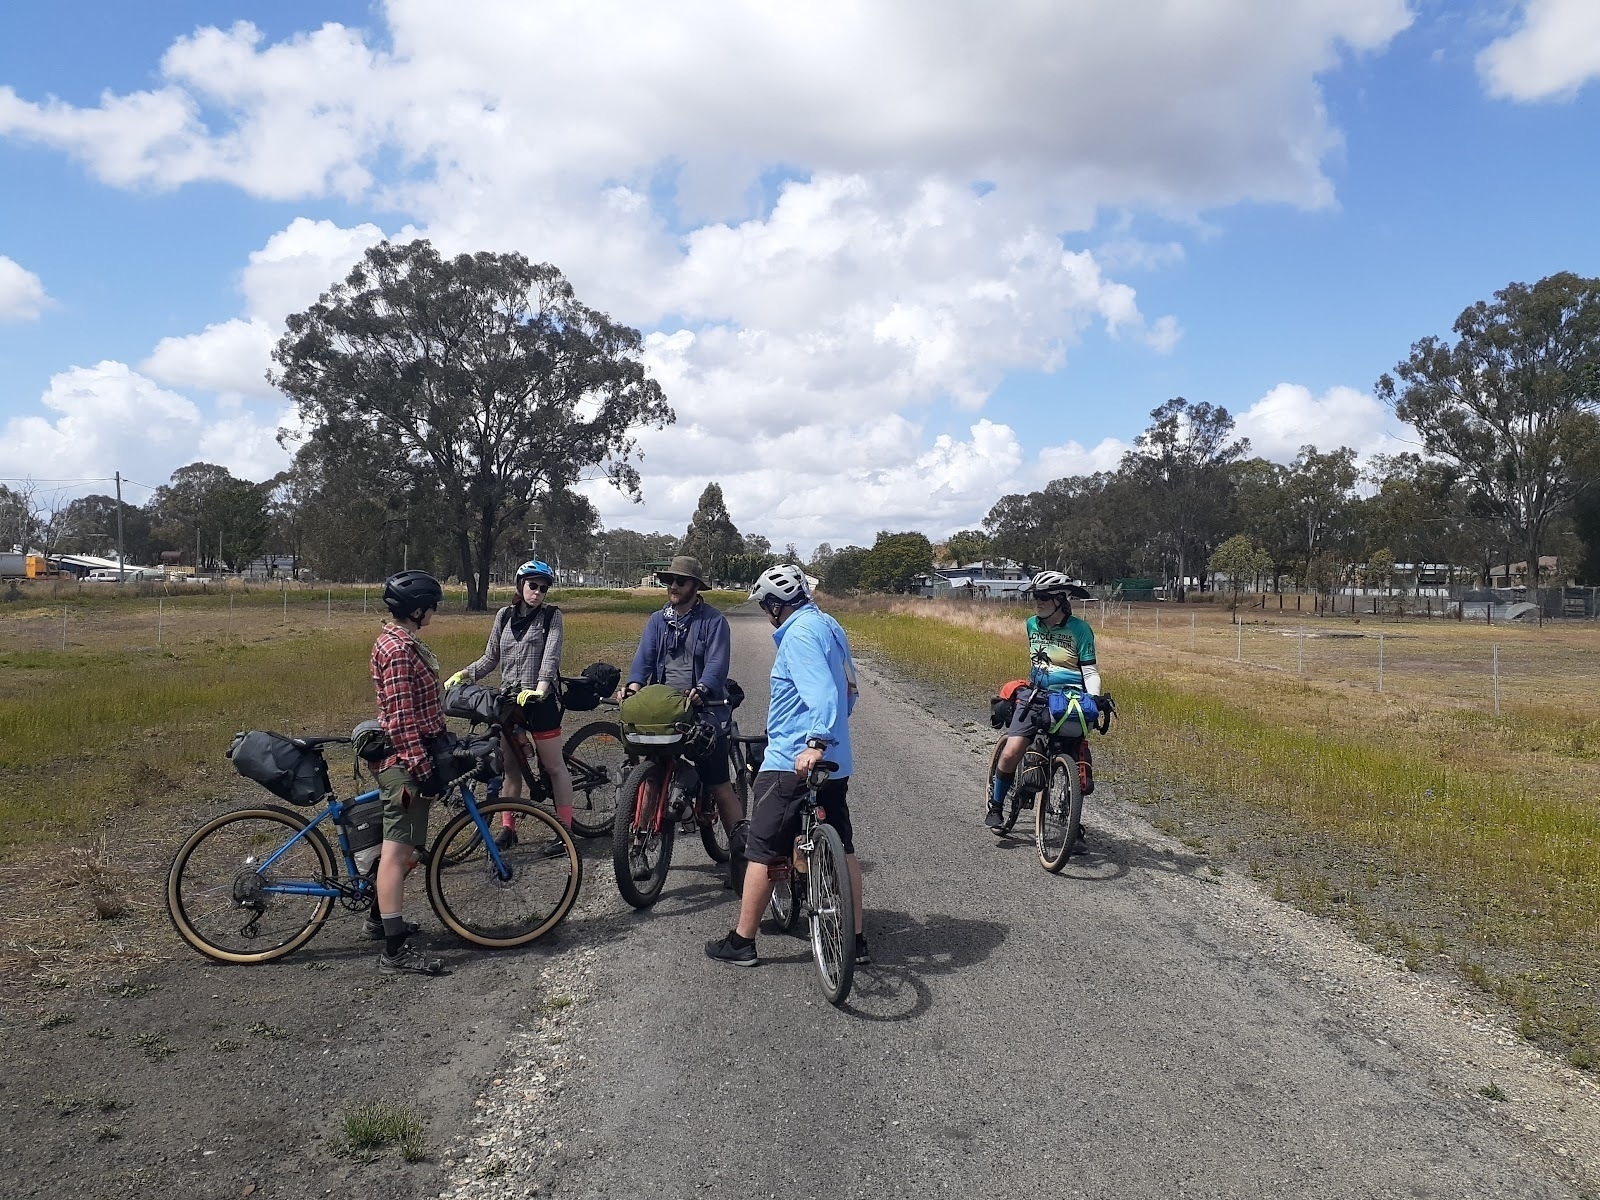 *Catching up with friends you see on the trail.*
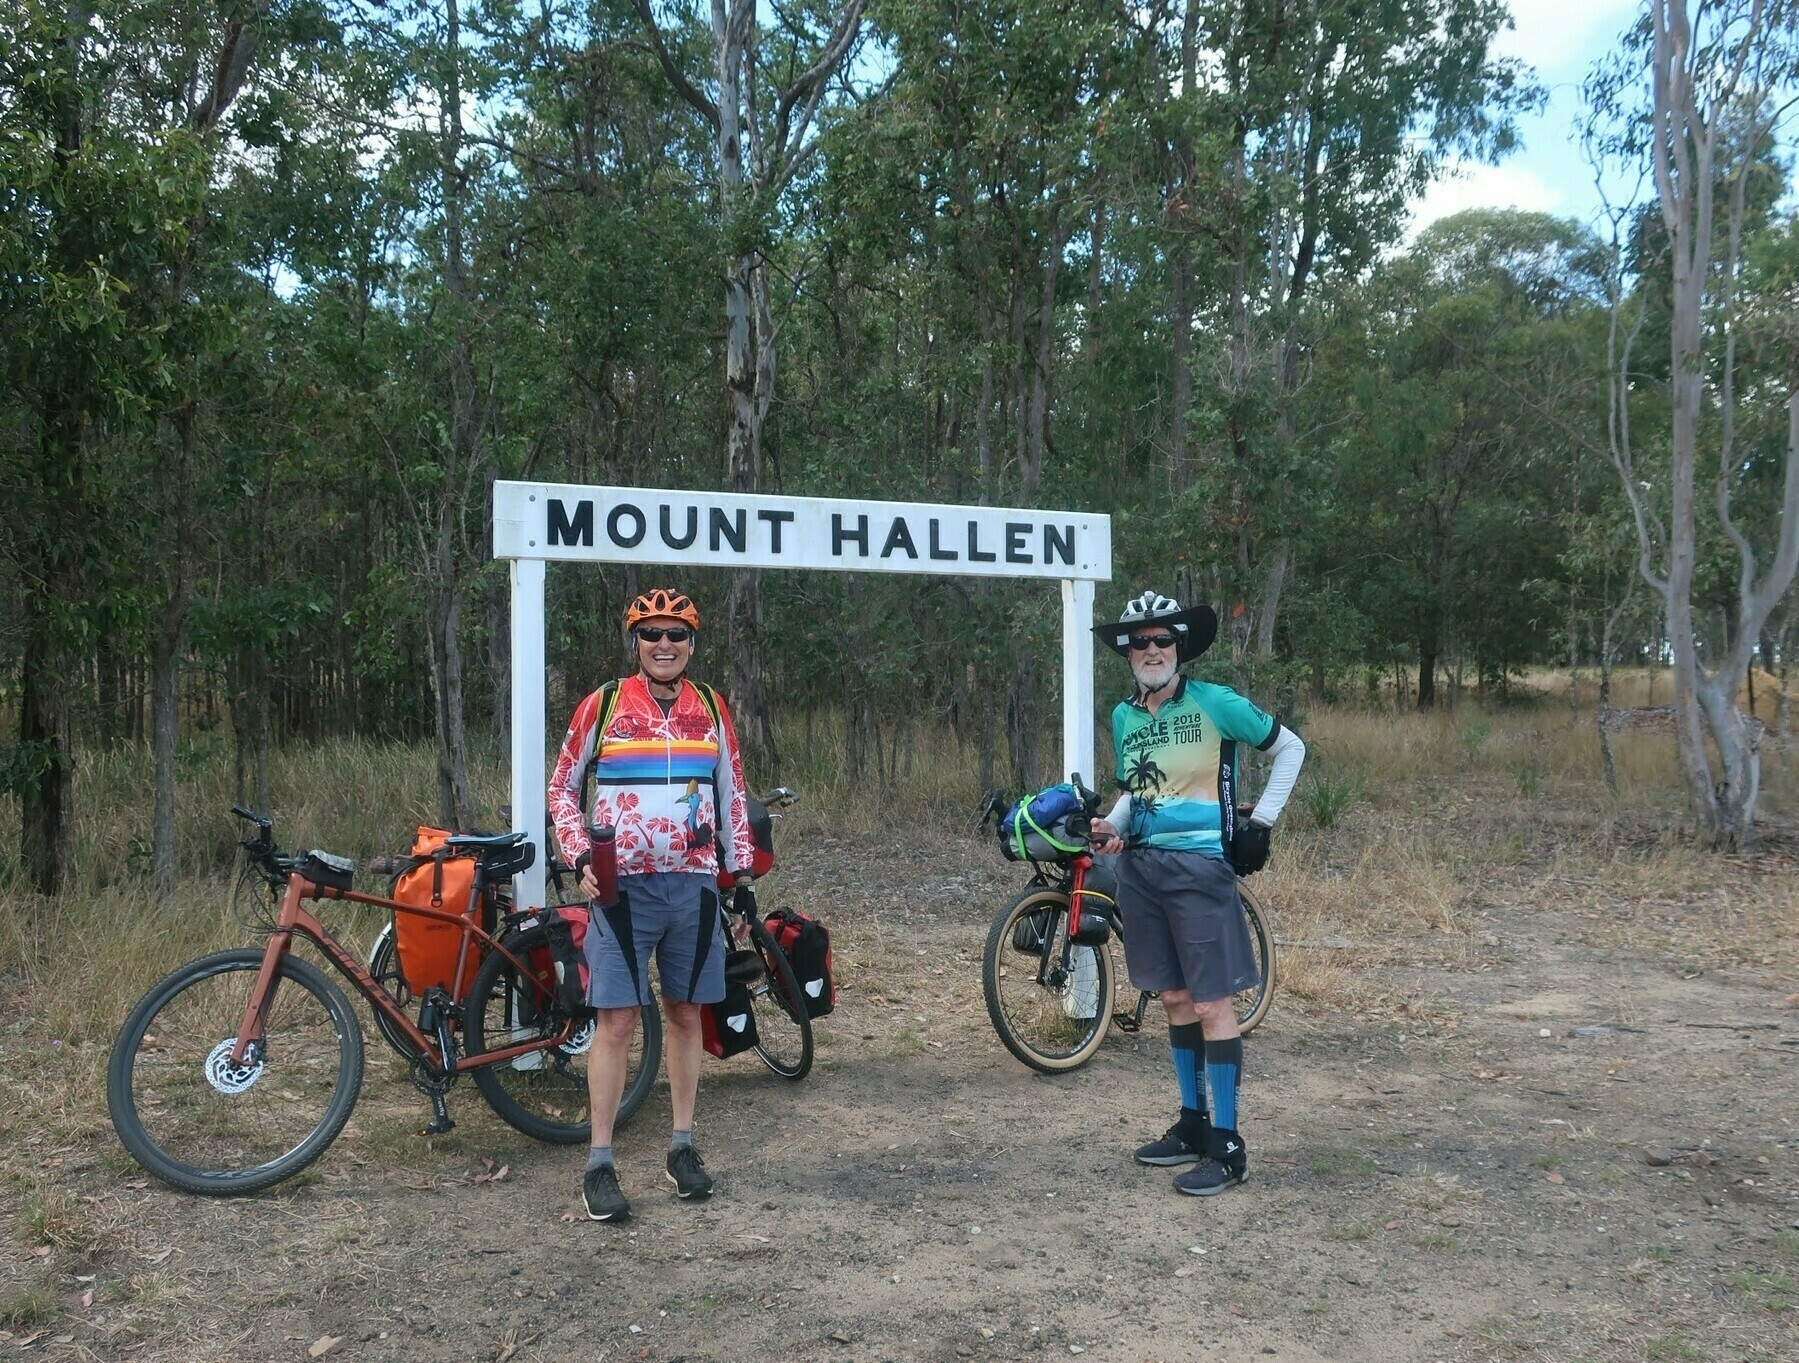 *Made it to Mount Hallen!*
But that’s OK because it means that the following 10km into Esk are “downhill”. In both instances you will still need to pedal.
Esk nestles beside Sandy Creek in the shelter of Mount Glen Rock, where it is proposed to build a mountain bike trail network. And it has accommodation and refueling options too many to name.
Sadly the Red Deer Cafe is closed because of a fire, so my next favourite eating spot in Esk is the Grand Hotel, which has a pleasant beer garden in back. Our group included some vegetarians, who rated the vegie pizza as a winner. As might be expected, meat eaters have a much larger selection to choose from, not just in Esk, but for this whole 9-day route.
After lunch we had about 19km left for the day, over one more hill at Ottaba. The bridge at Coal Creek is slated for the restoration treatment, so soon enough it will be one less time you have to make the decision of whether to find a super-low gear and attempt to power-spin your way up the pinch out of the gully, or admit defeat and push your heavy-laden bike.
Watch out for magpies, camels and llamas in this section of the trail. No prizes for seeing or interacting with any or all of these creatures. The camels are in a paddock, the magpies are on the wing in spring, but the llamas are a tourist attraction, so maybe you could take one for a walk.
After Ottaba is another long pedally gently downhill run to Toogoolawah, home of the Condensery art gallery, and Ramblers skydiving centre.
My group was tempted by neither art nor plummeting, and instead took some victory snaps at Toogoolawah station and then reconvened for drinks at the Exchange Hotel.
Where to stay in Toogoolawah:
- Camp at the Showgrounds
- Toogoolawah Motel
- Exchange Hotel
There are two other hotels – the Club, now called Peddlers Rest, and the Toogoolawah Hotel. I haven’t been to either one, and can’t even find a link to add.
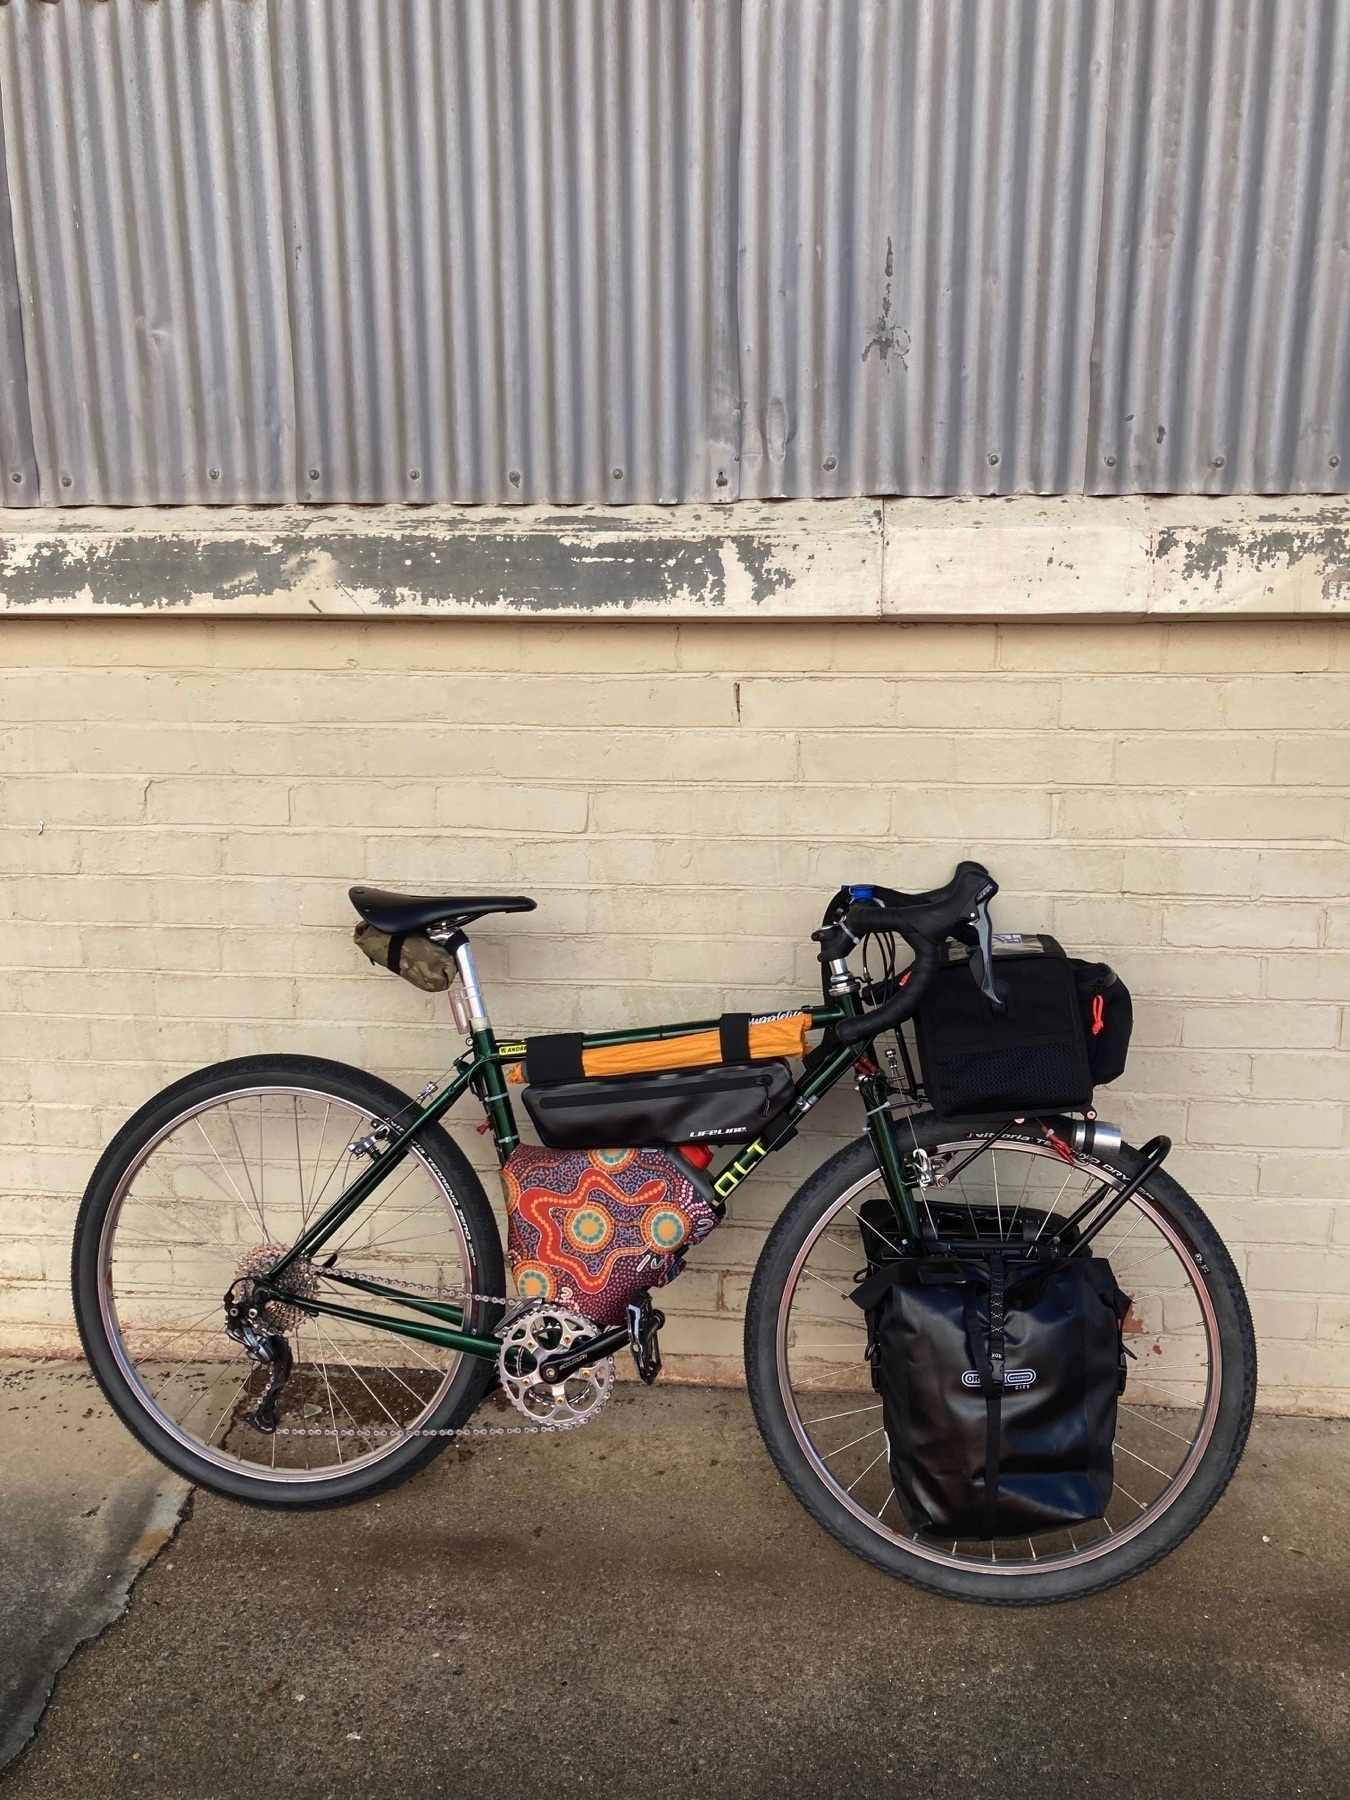
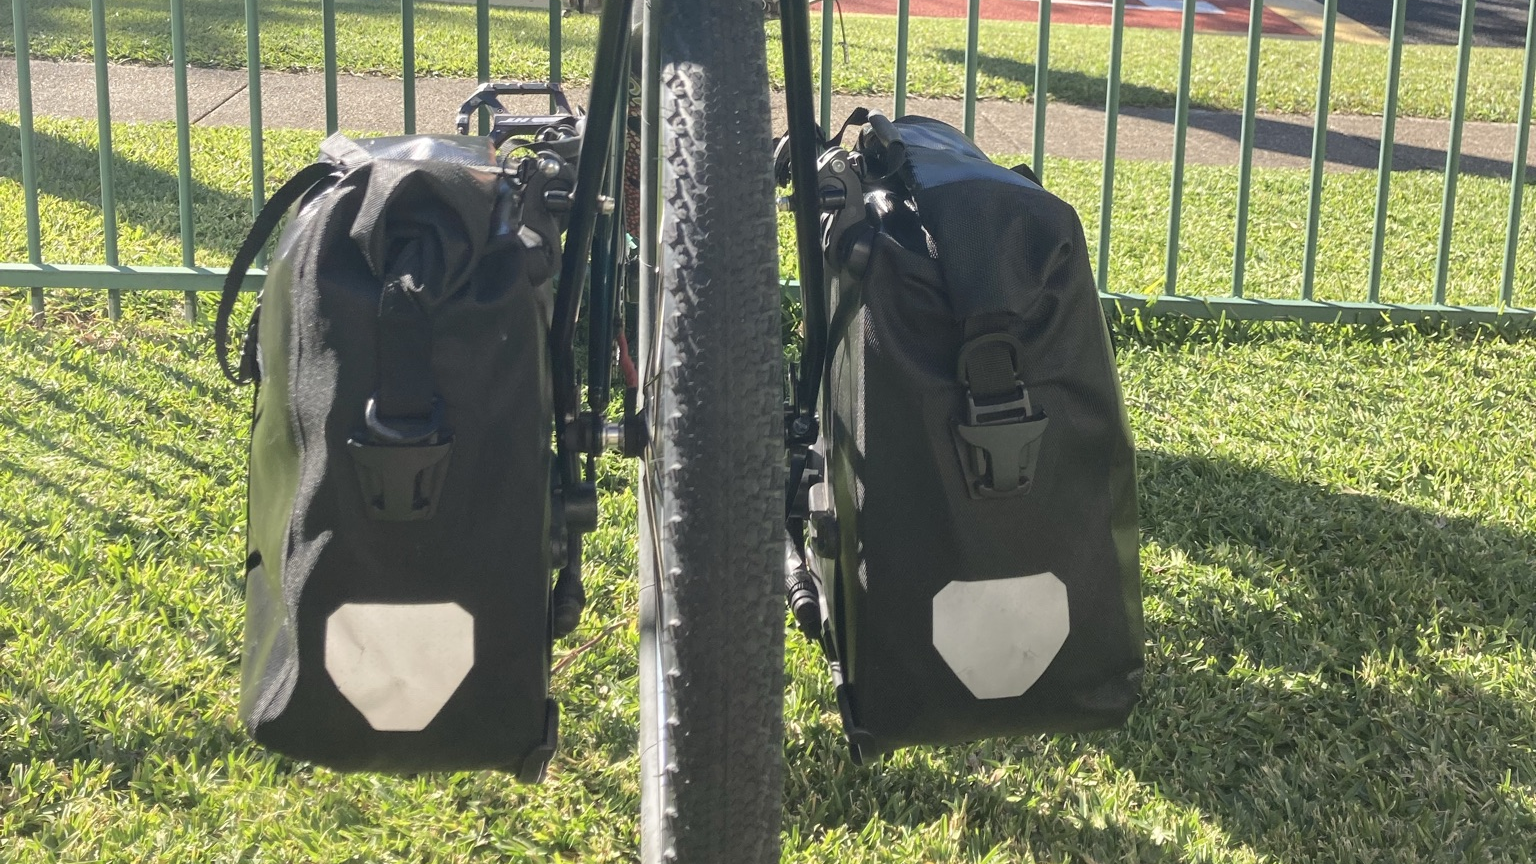 A big part of the bike-packing style of bike touring that really took off in the last 10 years was strapping bags directly to your bike, whether on the handlebars or seatpost, or within the main frame triangle.